

Published: 14 September 2026. Last verified against the live etravel.gov.ph portal: 10 September 2026. This is an informational guide for UK travellers, not a government site.
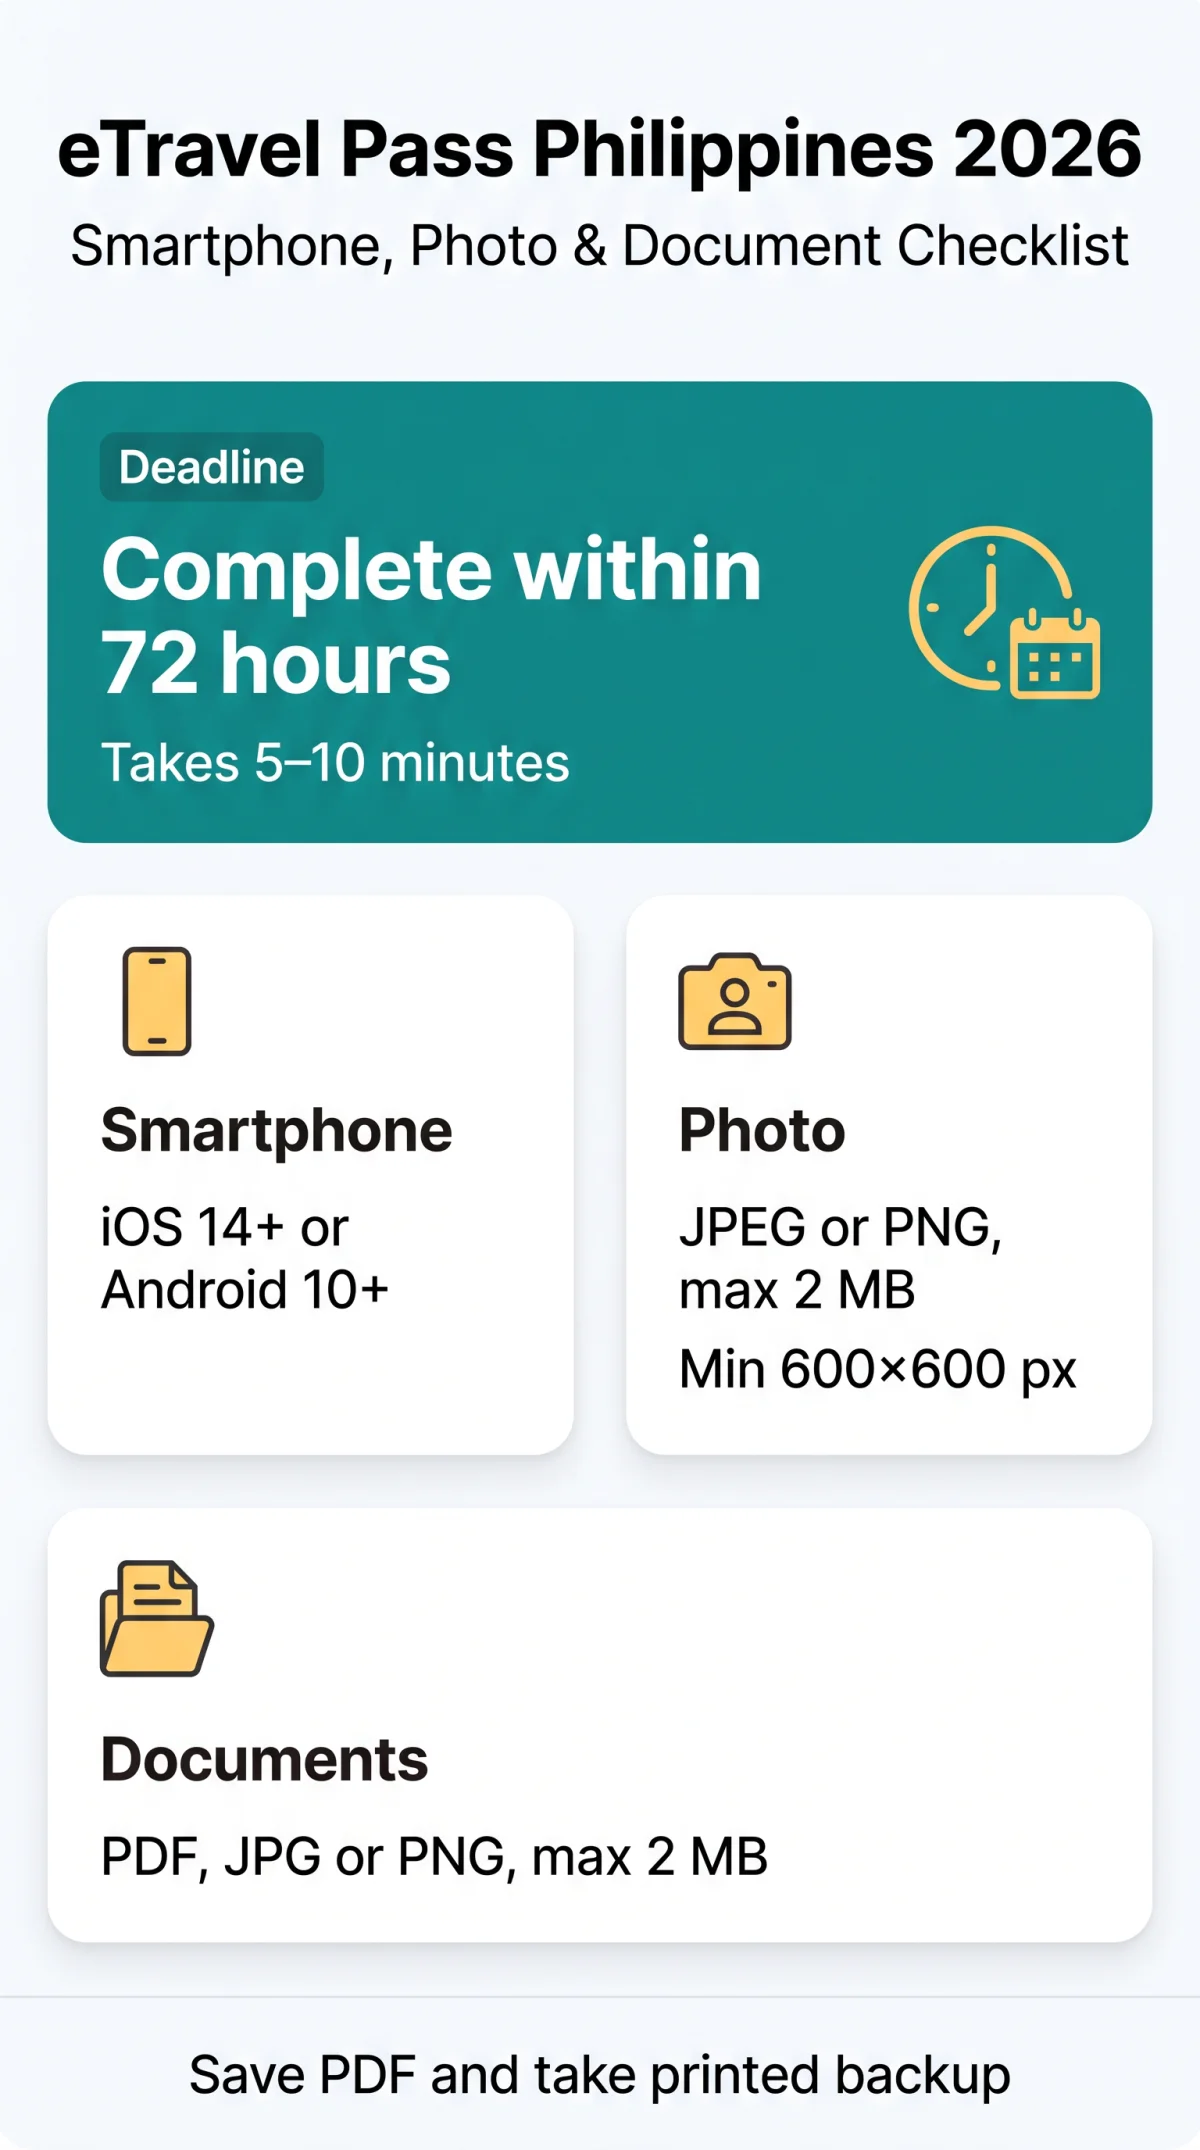
To apply for the eTravel Pass Philippines in 2026, you need a compatible smartphone (iOS 14+ or Android 10+), an active email address for OTP verification, and document uploads in JPEG, PNG, or PDF format (max 2 MB per file). Your photo must be front-facing with a neutral background. Both digital and printed QR codes are accepted at immigration, though a printed backup is recommended for UK travellers. GOV.UK travel advice for the Philippines confirms: all travellers must complete the eTravel declaration within 72 hours before arrival.
What Is the eTravel Pass and How Does the Digital System Work?
The eTravel Pass is the Philippines’ free, web-based travel registration system that outputs a QR code mandatory for all arriving and departing passengers. It operates under the Ease of Doing Business Law (R.A. 11032) and integrates the Electronic Health Declaration Card (eHDC) for border control, health surveillance, and economic data analysis.
- System: Philippine Travel Information System at https://etravel.gov.ph
- Cost: Free of charge (no payment collected at any stage)
- Platform: Web-based, mobile-responsive (no app required; eGovPH app available as alternative)
- Exempt groups: Foreign diplomats, 9(e) visa holders, diplomatic/official/service passport holders
- Data modification: Editable until prior to processing by BOQ and Bureau of Immigration
- Multiple registrations: Present only one QR code during inspection
- Scam reporting: https://cicc.gov.ph/report/
How You Receive Your QR Code
The eTravel Pass QR code is delivered via email and can be retrieved at https://etravel.gov.ph/search using your reference number and date of birth. Download or screenshot the QR code before closing the portal.
Understanding Your QR Code Status (Green vs. Red)
A green QR code means proper, complete data submission; proceed directly to immigration. A red QR code indicates incomplete/incorrect data, illness within the past 30 days, or exposure to communicable disease; undergo Bureau of Quarantine (BOQ) secondary inspection before immigration formalities.
Registration Timeline, Cost, and Deadline
The eTravel Pass registration is free and must be completed within 72 hours (3 days) prior to arrival in or departure from the Philippines. Completion takes approximately 5 to 10 minutes. Present proof of registration to the airline representative prior to boarding.
Smartphone Compatibility and Email Prerequisites
The eTravel Pass Philippines digital requirements specify a mobile-responsive, web-based platform compatible with iOS 14+ and Android 10+, requiring an active email for 6-digit OTP verification. The portal explicitly recommends a good and stable internet connection; mobile data users should switch to Wi-Fi if the upload widget fails to load.
Supported Operating Systems and Browsers
| Operating System | Recommended Browser | Minimum Version | Notes |
|---|---|---|---|
| iOS | Safari | 14+ | iPhone/iPad |
| Android | Chrome / Samsung Internet | Chrome 90+ | Update before starting |
| Desktop | Chrome, Edge, Firefox | 90+ / modern | Older browsers may fail uploads |
The eGovPH app serves as an alternative mobile access method for the eTravel Pass.
Email Address Requirements and OTP Verification
An active, regularly checked email receives a 6-digit OTP valid for approximately 5 minutes. Check spam or junk folder if not received. The registered email also delivers the final eTravel Pass QR code.
Granting Camera Access on Your Browser
Camera permission must be granted in browser settings for the eTravel Pass in-browser selfie: iOS Safari: Settings → Safari → Camera → Allow. Android Chrome: Settings → Site Settings → Camera → Allow. If denied, upload a pre-existing photo from the gallery.
Photo Upload Specifications for the eTravel Pass
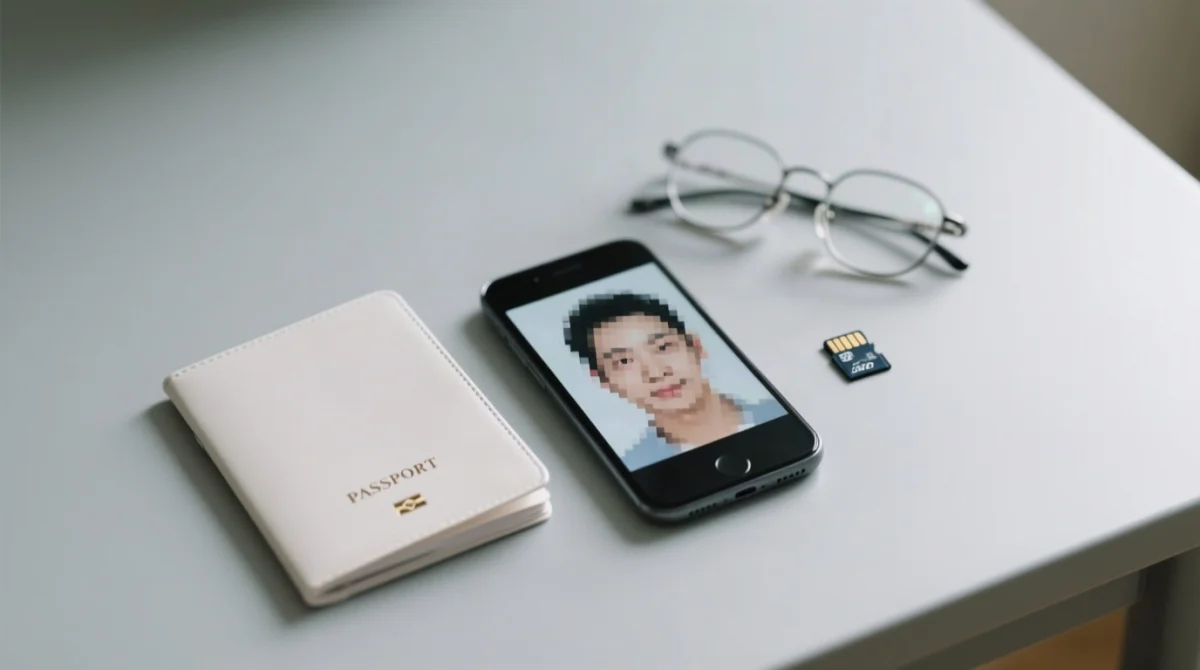
Accepted photo formats: JPEG or PNG; max 2 MB; min 600 × 600 pixels at 300 DPI. The eTravel Pass requires a front-facing, well-lit selfie against a plain light background. Non-compliant photos are the most common cause of application rejection.
Accepted Photo Formats and File Size Limits
| Format | Max Size | Min Resolution | Notes |
|---|---|---|---|
| JPEG | 2 MB | 600 × 600 px | Universal; recommended for all devices |
| PNG | 2 MB | 600 × 600 px | Accepted; larger file size than JPEG |
| HEIC | – | – | Convert to JPEG before upload (acceptance not confirmed) |
Photo Quality Standards: Lighting, Angle, and Background
The eTravel Pass selfie requires: front-facing angle, eyes looking at camera; even, well-lit lighting without harsh shadows; white or light-grey background; no sunglasses, hats, or head coverings (unless religious); face properly positioned within the frame, not cropped at edges.
Troubleshooting Photo Upload Failures
| Problem | Solution |
|---|---|
| File > 2 MB | Compress with phone tools or online compressor |
| HEIC format | Convert to JPEG before uploading |
| Blurry image | Retake in good lighting; hold phone steady |
| Camera denied | Enable in browser settings (see Smartphone section) |
| Upload timeout | Switch from mobile data to Wi-Fi and retry |
Document Upload Formats and Requirements
Accepted document formats for the eTravel Pass: PDF, JPG, PNG; max 2 MB per file. Prepare all files before starting the online form to avoid session timeouts.
| Document Type | Accepted Formats | Max Size | Notes |
|---|---|---|---|
| Passport data page | PDF, JPG, PNG | 2 MB | Full page, uncropped, no glare |
| Flight itinerary | PDF, JPG | 2 MB | Must show name, flight number, dates |
| Vaccination certificate (if applicable) | PDF, screenshot | 2 MB | Format rules less strict |
Note: These specifications are practical recommendations based on standard government portal practice, as the eTravel portal does not publish an explicit format list.
Passport Scan Quality and File Specifications
A clear, legible image of the full data page is required for eTravel Pass OCR verification, including name, photo, passport number, dates, and the MRZ line. No cropping, glare, blur, or rotation. Scan at 300 DPI in JPEG or PDF, keeping the file under 2 MB.
Flight Itinerary and Supporting Document Formats
Flight booking confirmations accepted in PDF or JPEG must display passenger name, flight number, and travel dates. Vaccination certificates follow less strict format rules. Accommodation details are entered as text input, not uploaded as a file.
Digital vs Printed Copies: Which Should You Use?
Accepted QR code formats at Philippine immigration: digital screenshot, downloaded file, or printed copy. The eTravel Pass portal at etravel.gov.ph advises taking a screenshot or downloading the QR code before closing the website. A printed backup is recommended for UK travellers.
| Format | Pros | Cons | Best Scenario |
|---|---|---|---|
| Digital screenshot | Instant access, no internet needed once saved | Battery failure ends access | Smooth transit with charged phone |
| Downloaded PDF | Offline-ready, email-forwardable | Requires storage space | Airports with poor connectivity |
| Printed copy | No battery dependence, universally scannable | Can be lost or damaged | Contingency backup at check-in |
How to Save and Download Your QR Code Offline
Download the PDF
Download the eTravel Pass QR code as a PDF directly from the portal before exiting.
Save to local storage
Save to phone’s local storage, not cloud-only, for offline access at airports with poor connectivity.
Take a screenshot
Take a screenshot as additional backup.
Presenting Your QR Code at the Airport
Set smartphone brightness to maximum and disable dark mode before presenting the eTravel Pass QR code to border scanners. Hold the screen flat and steady. Present to the airline representative prior to boarding. The Bureau of Quarantine (BOQ) reviews QR codes at arrival. A colour printout is preferred over black-and-white for reliable scanner reading.
Adding eTravel QR to Your Mobile Wallet
Apple Wallet / Google Wallet: not supported as of 2026. Workaround: save a screenshot to a dedicated travel folder or email the eTravel Pass QR code to yourself for retrieval from any device.
FAQ: eTravel Pass Philippines Digital Requirements 2026
What are the photo requirements for the eTravel Pass Philippines in 2026?
JPEG or PNG, max 2 MB, min 600×600 px at 300 DPI, front-facing, neutral background, well-lit. Convert HEIC to JPEG before upload.
Can I show the eTravel QR code on my phone or must I print it?
Both accepted. Digital screenshot, downloaded file, or printed copy are all valid at immigration. A printed backup is recommended.
What file formats are accepted for eTravel document uploads?
PDF, JPG, and PNG. Max 2 MB per file. Prepare all files before starting the form.
How long is the email verification code (OTP) valid?
Approximately 5 minutes. Check email immediately after requesting. Check spam folder if not received.
What happens if my eTravel form times out?
Data entered may be lost. Prepare all digital files and passport details before starting to minimise this risk.
Can I print my eTravel QR code in black and white?
Accepted, but a colour printout is recommended for optimal scanner readability.
How do I enter my name if it has hyphens or accents?
Enter exactly as shown on your passport. If the form rejects special characters, use standard Latin equivalents (e.g., ae for æ).
Can I add my eTravel QR code to Apple Wallet or Google Wallet?
No, not natively supported as of 2026. Save a screenshot or download the PDF instead.
Do UK travellers need a printed copy at NAIA Terminal 3?
Not mandatory if presenting a clear digital copy. A printed backup is strongly recommended against battery failure or screen damage.
How do I save my eTravel QR code offline?
Download the PDF from the portal and save to local device storage. Take a screenshot as backup.
What browsers work best for the eTravel Pass portal?
Chrome 90+, Safari 14+, Microsoft Edge, and Samsung Internet. Update to the latest version before applying.
Is the eTravel Pass the same as a Philippine visa?
No. The eTravel Pass is a digital travel declaration for border control and health surveillance, separate from visa requirements.
Disclaimer: Philippine entry requirements may change without notice. Always verify with the Philippine Embassy or BOQ before travel. This portal is not affiliated with the Philippine government. Cross-reference: GOV.UK travel advice for the Philippines.