

The eTravel Pass Philippines arrival process requires all foreign tourists, including UK passport holders, to complete a free digital registration within 72 hours before arrival. Upon landing, passengers must present their QR code at immigration and select the correct customs lane for clearance. This guide outlines the exact sequence from disembarking the plane to clearing customs at Ninoy Aquino International Airport (NAIA).
Last updated: September 2026. This guide is independently written and fact-checked against official Philippine government sources, including etravel.gov.ph, the Bureau of Immigration, and the Bureau of Customs. Immigration rules can change without notice; always verify current requirements at etravel.gov.ph before travel.
What Is the eTravel Pass and Who Must Register?
The eTravel Pass, formally the Philippine Travel Information System, is a free, mandatory digital e-arrival card accessible at etravel.gov.ph or via the eGovPH app. Introduced in 2022, it replaced both paper arrival cards and the former One Health Pass, consolidating immigration, customs, health surveillance, and contact tracing form data into a single digital form that takes approximately 5-10 minutes to complete.
The eTravel Pass Philippines arrival process requires registration from all arriving foreign nationals, including UK passport holders, business travellers, international students, transit passengers, and Filipino citizens returning as residents. Exemptions apply only to diplomatic and official passport holders, 9(e) visa holders, and foreign dignitaries. Children and infants must each hold their own passport and receive an individual registration.
At a glance – the six-stage arrival sequence:
Register online
Complete registration at etravel.gov.ph within 72 hours before arrival.
Receive your QR code
The QR code is sent to your registered email upon submission.
Follow terminal signs to immigration
Upon landing, proceed toward the immigration hall following English-language signage.
Present the eTravel Pass QR code
Display the QR code on your phone or printed copy at the immigration booth for scanning.
Collect baggage at the carousel
Proceed to the baggage claim area and retrieve your luggage.
Choose your customs lane
Green lane for nothing to declare, or Red lane for goods to declare.
Step 1: Complete Your eTravel Registration Online
The eTravel Pass Philippines arrival process begins with a mandatory digital registration submitted at etravel.gov.ph or via the eGovPH app within 72 hours before your expected arrival time in the Philippines, not your departure time, which matters for multi-leg flights from the UK.
Since early 2024, account creation is required: you will need to create an account using your email, a 6-digit one-time password (OTP) sent for verification, and a password of minimum 8 characters containing at least one uppercase and one lowercase letter. You then complete the eTravel registration by providing your nationality, passport number, issuing country, airline name, flight number, accommodation address, and residential address. The health declaration section covers health surveillance questions on recent illness; proof of vaccination is not required in 2026 for most travellers.
Upon submission, your eTravel Pass QR code is sent to your registered email. You may display it on your phone screen or print a copy; both formats are accepted. Registration on behalf of accompanying family members is permitted, with each person receiving their own QR code.
Your passport must be valid for at least 6 months after arrival and contain at least 2 blank stamp pages, in undamaged physical condition.
Tip: Have a screenshot or printed copy of your QR code plus your return flight booking and hotel confirmation accessible on your phone; immigration officers may ask for accommodation proof.
Step 2: From Landing to Immigration Clearance
Follow this sequential checkpoint path from the aircraft door to the border control clearance point, where your eTravel Pass QR code is scanned and verified against your passport data.
Disembark and follow terminal signage
Exit via the aerobridge and follow English-language signs toward the immigration hall. At NAIA, Terminals 1 and 3 handle most international arrivals.
Pass the health screening checkpoint
A Green QR code grants direct passage; a Red QR code triggers referral to the Bureau of Quarantine (BOQ) secondary assessment desk for incomplete health declarations or flagged travel history.
Queue at a staffed immigration booth
Biometric e-Gates are reserved for Philippine passport holders; foreign visitors, including UK tourists, must use manual booths.
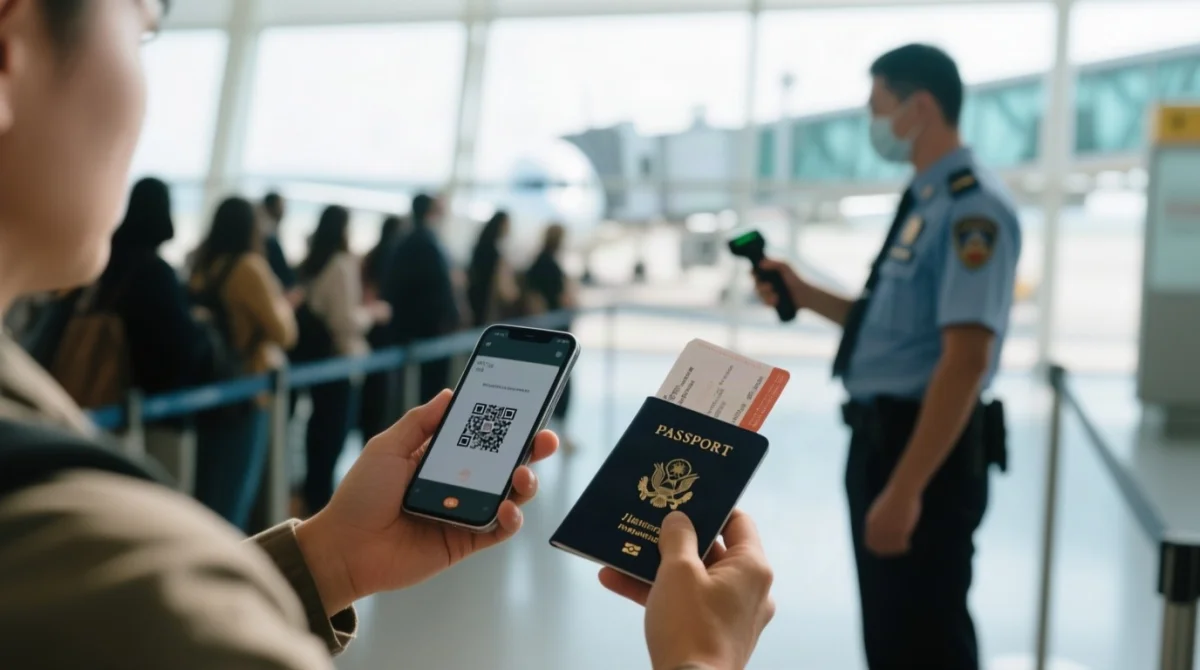
Present the eTravel Pass QR code
Display it on your phone or as a printed copy. The officer scans it and cross-references your data. An unreadable QR code can be manually looked up by passport number, but this causes delays.
Complete biometric capture
Photo and fingerprints (depending on terminal) are captured, and you receive your passport stamp.
During peak bank-arrival hours, NAIA immigration queues can take 30-60 minutes; off-peak clearance takes 15-25 minutes. Screenshot your eTravel Pass QR code before landing in case terminal Wi-Fi is unavailable.
Step 3: Collect Baggage and Clear Customs
After baggage claim, proceed to customs. Your eTravel Pass customs declaration, completed during online registration, is linked to your QR code. The eTravel Pass digital customs section replaces paper customs forms as the primary declaration method, though paper forms may occasionally be offered as backup on some airlines. Customs officers may conduct random bag X-ray scans regardless of which lane you select.
| Green Lane (Nothing to Declare) | Red Lane (Goods to Declare) |
|---|---|
| No goods exceeding duty-free allowance | Cash exceeding USD 10,000 (or equivalent) |
| No restricted or prohibited items | Commercial goods or items for resale |
| No cash above declaration threshold | Animals, plants, and food products |
| Proceed directly to exit | Items above personal duty-free allowance |
The table above lists key categories; customs officers may inspect any bag. Non-declared items can be seized by customs authorities.
Quick Reference: eTravel Arrival Process at a Glance
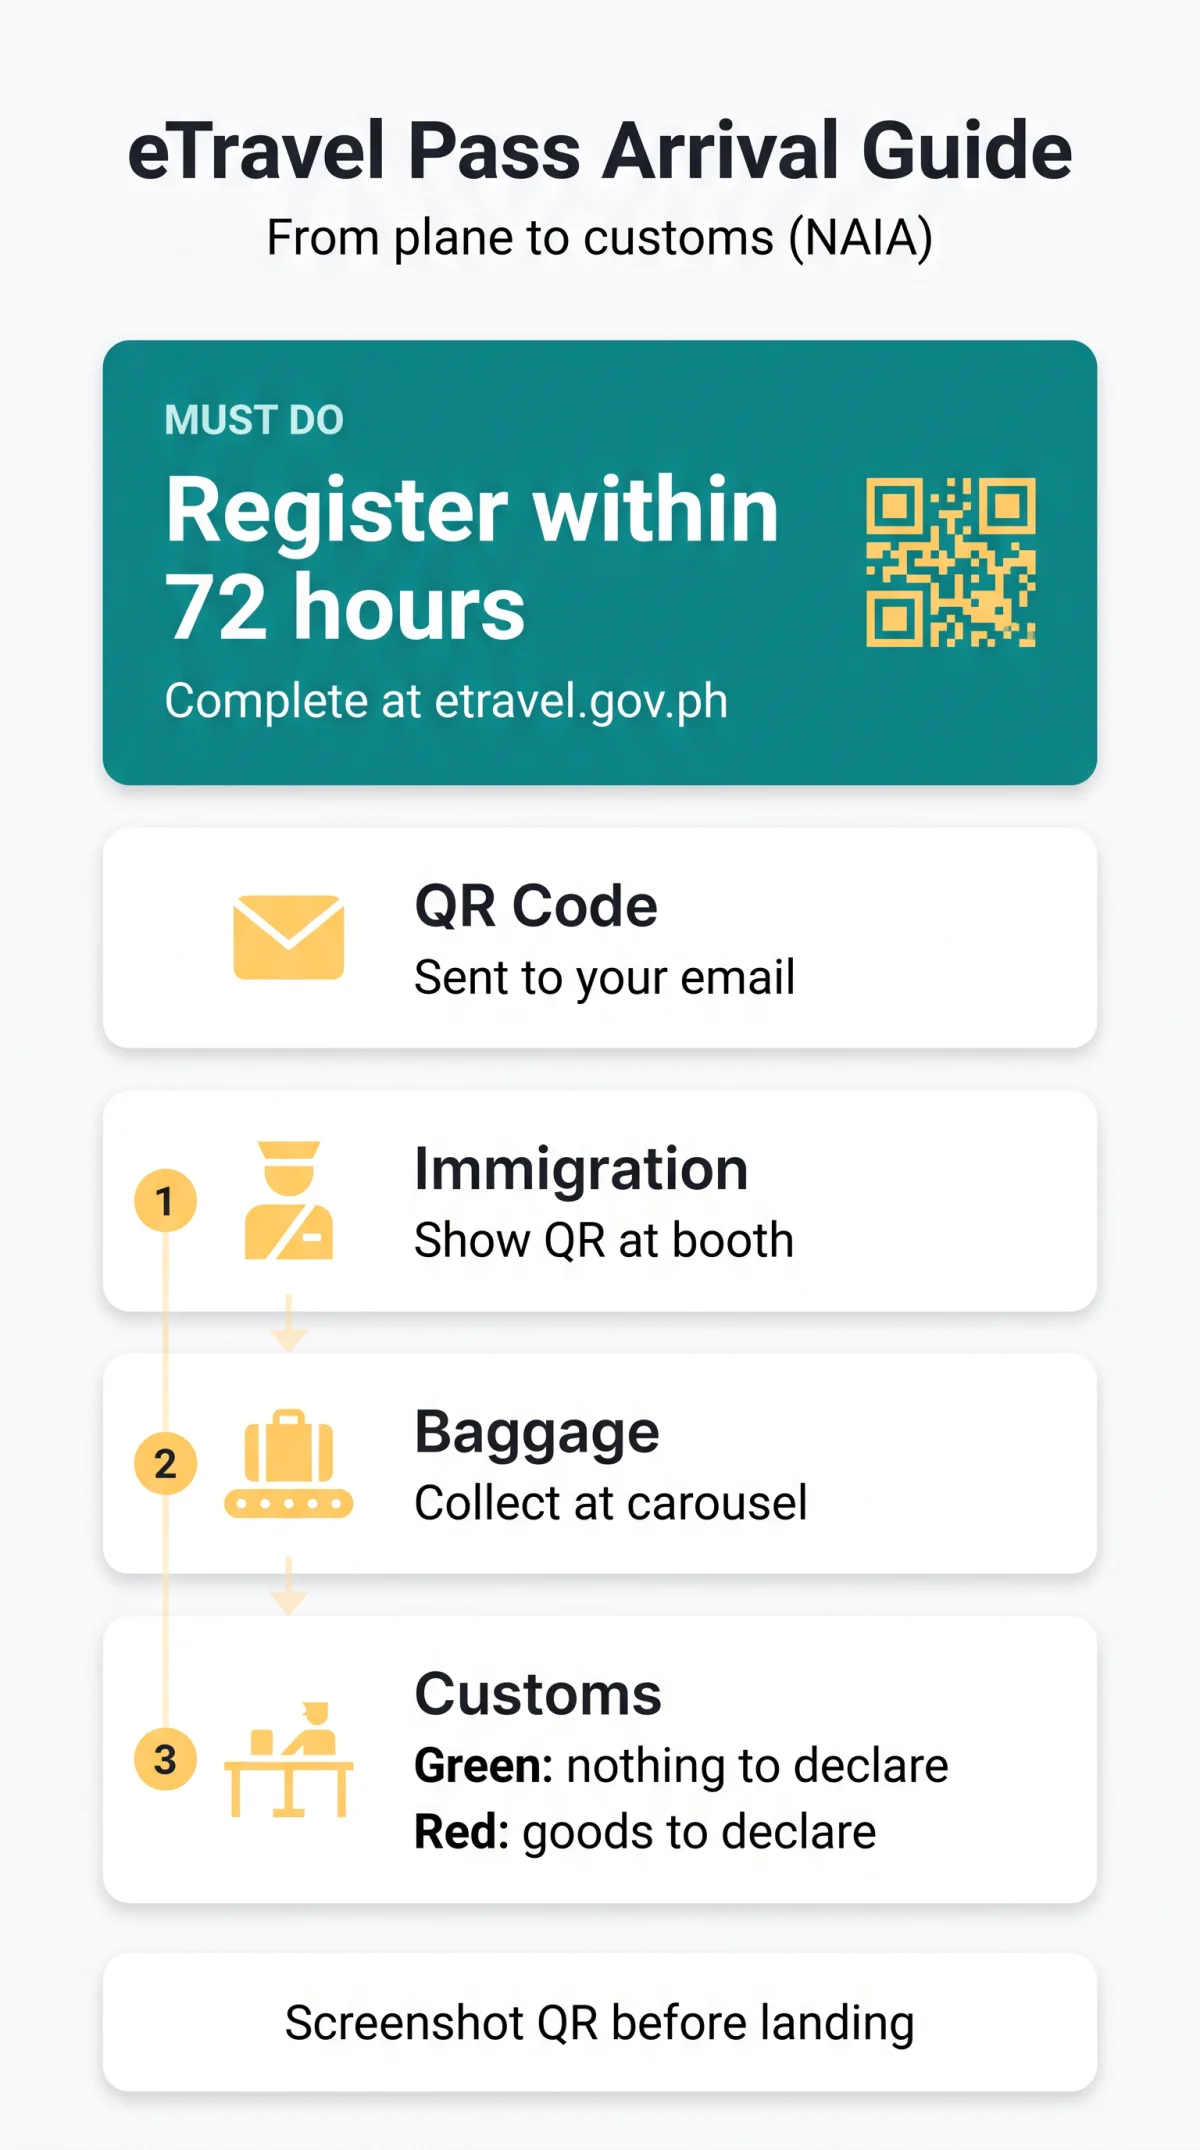
The eTravel Pass Philippines arrival process follows six sequential steps from online registration to customs lane selection:
- Register online at etravel.gov.ph within 72 hours before your expected arrival time.
- Receive your QR code via email upon successful submission.
- Follow airport signs to the immigration hall upon landing.
- Present the eTravel Pass QR code at the immigration booth for scanning.
- Collect your baggage at the designated carousel.
- Choose the green lane for nothing to declare or the red lane for goods to declare at customs.
Practical Tips for a Smooth Airport Arrival
Prepare your eTravel Pass documents before landing to avoid delays. Terminal Wi-Fi may be available in arrival corridors, but coverage is unreliable; screenshot or print your QR code before departure to ensure you can present it offline.
If you arrive without completing the eTravel Pass, proceed directly to the Bureau of Quarantine (BOQ) assistance desk before the immigration counters. Staff can assist with on-the-spot registration, but expect additional processing time.
Plan your schedule around estimated clearance windows at NAIA: immigration typically takes 15-25 minutes off-peak, but extends to 30-60 minutes during peak bank-arrival hours in the early morning and mid-afternoon. Having your eTravel Pass QR code, passport, and accommodation details ready at the immigration officer’s booth keeps your queue movement efficient.
FAQ: eTravel Pass Philippines Arrival Process
How long before arrival do I need to complete the eTravel Pass?
You must submit your eTravel registration within 72 hours before your expected arrival time in the Philippines. Submitting early is recommended to avoid last-minute issues with email delivery or system traffic.
Can I show the eTravel Pass QR code on my phone at immigration?
Yes. The QR code can be displayed on your smartphone screen or printed on paper; both formats are accepted by immigration officers at Philippine airports.
What if I forgot to register for eTravel before my flight?
Proceed to the Bureau of Quarantine (BOQ) assistance desk at the airport before the immigration counters. Staff can assist with on-the-spot registration, though expect additional processing time.
Do children and infants need a separate eTravel Pass?
Yes. Each traveller, regardless of age, must have their own individual eTravel registration and their own valid passport with at least 6 months validity after arrival and 2 blank pages.
Is the eTravel Pass the same as a visa for the Philippines?
No. The eTravel Pass is a digital immigration and customs declaration form, not a visa; UK passport holders can enter the Philippines visa-free for stays of up to 30 days but must still complete the eTravel Pass.
What items must I declare at Philippine customs?
You must declare cash exceeding USD 10,000 or equivalent, commercial goods, items above duty-free allowance, and any restricted or prohibited items including certain food products, animals, and plants. Non-declared items can be seized by customs authorities.
How long is the eTravel Pass QR code valid?
Your QR code is valid for the specific travel date you entered during registration. If your travel date changes significantly, you must re-register with updated information.
Can I register for eTravel on behalf of my family members?
Yes. One person can complete the eTravel registration for accompanying family members, including children; each person receives their own unique QR code.
Who is exempt from needing an eTravel Pass?
Exemptions apply to holders of diplomatic passports, official or service passports, 9(e) visa holders, foreign diplomats and their dependents, and foreign dignitaries and delegation members. Regular tourist and business travellers must register.
What is the difference between the eTravel Pass and the old paper arrival card?
The eTravel Pass fully replaced paper arrival and departure cards as well as the previous One Health Pass introduced in 2022. The digital form is now the only accepted method for immigration and customs declarations upon entry to the Philippines.